Internationalization (i18n)
The Internationalization feature allows to manage content in different languages, called "locales".


Plan: Free feature.
Role & permission: None.
Activation: Available but disabled by default.
Environment: Available in both Development & Production environment.
Configuration
Before being usable in the Content Manager, the Internationalization feature must be configured from Settings > Global settings > Internationalization, and it should be enabled on your content types from the
Content-type Builder.
Content-type Builder
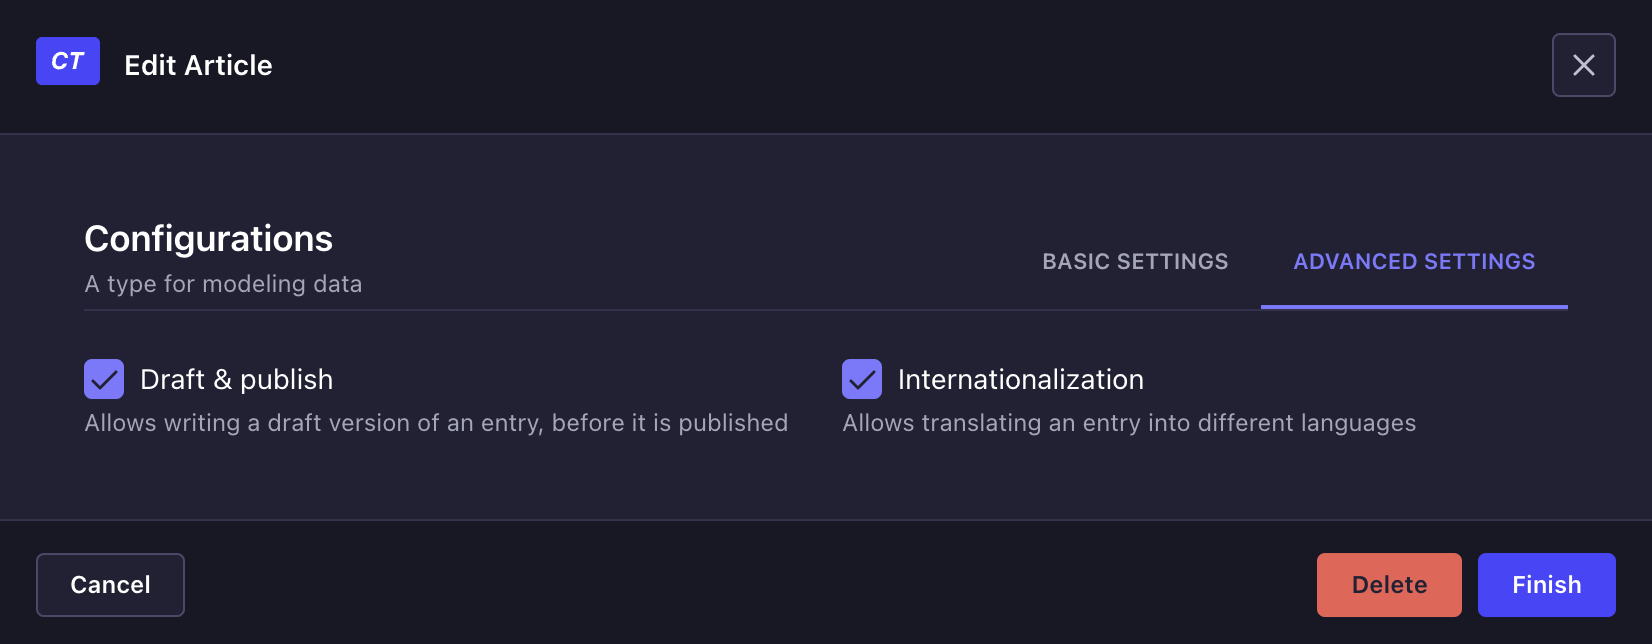
For your content types to be translatable with Internationalization in the Content Manager, the feature must be enabled through the Content-type Builder. Internationalization can be configured for each content type and/or field.
To enable Internationalization:
- Go to the
Content-type Builder via the main navigation of the admin panel.
- Either edit the already created content type/field of your choice, or create a new content type/field.
- Go to the Advanced settings tab.
- Tick the option named "Internationalization" at content-type level, and "Enable localization for this field" at field level.


Settings
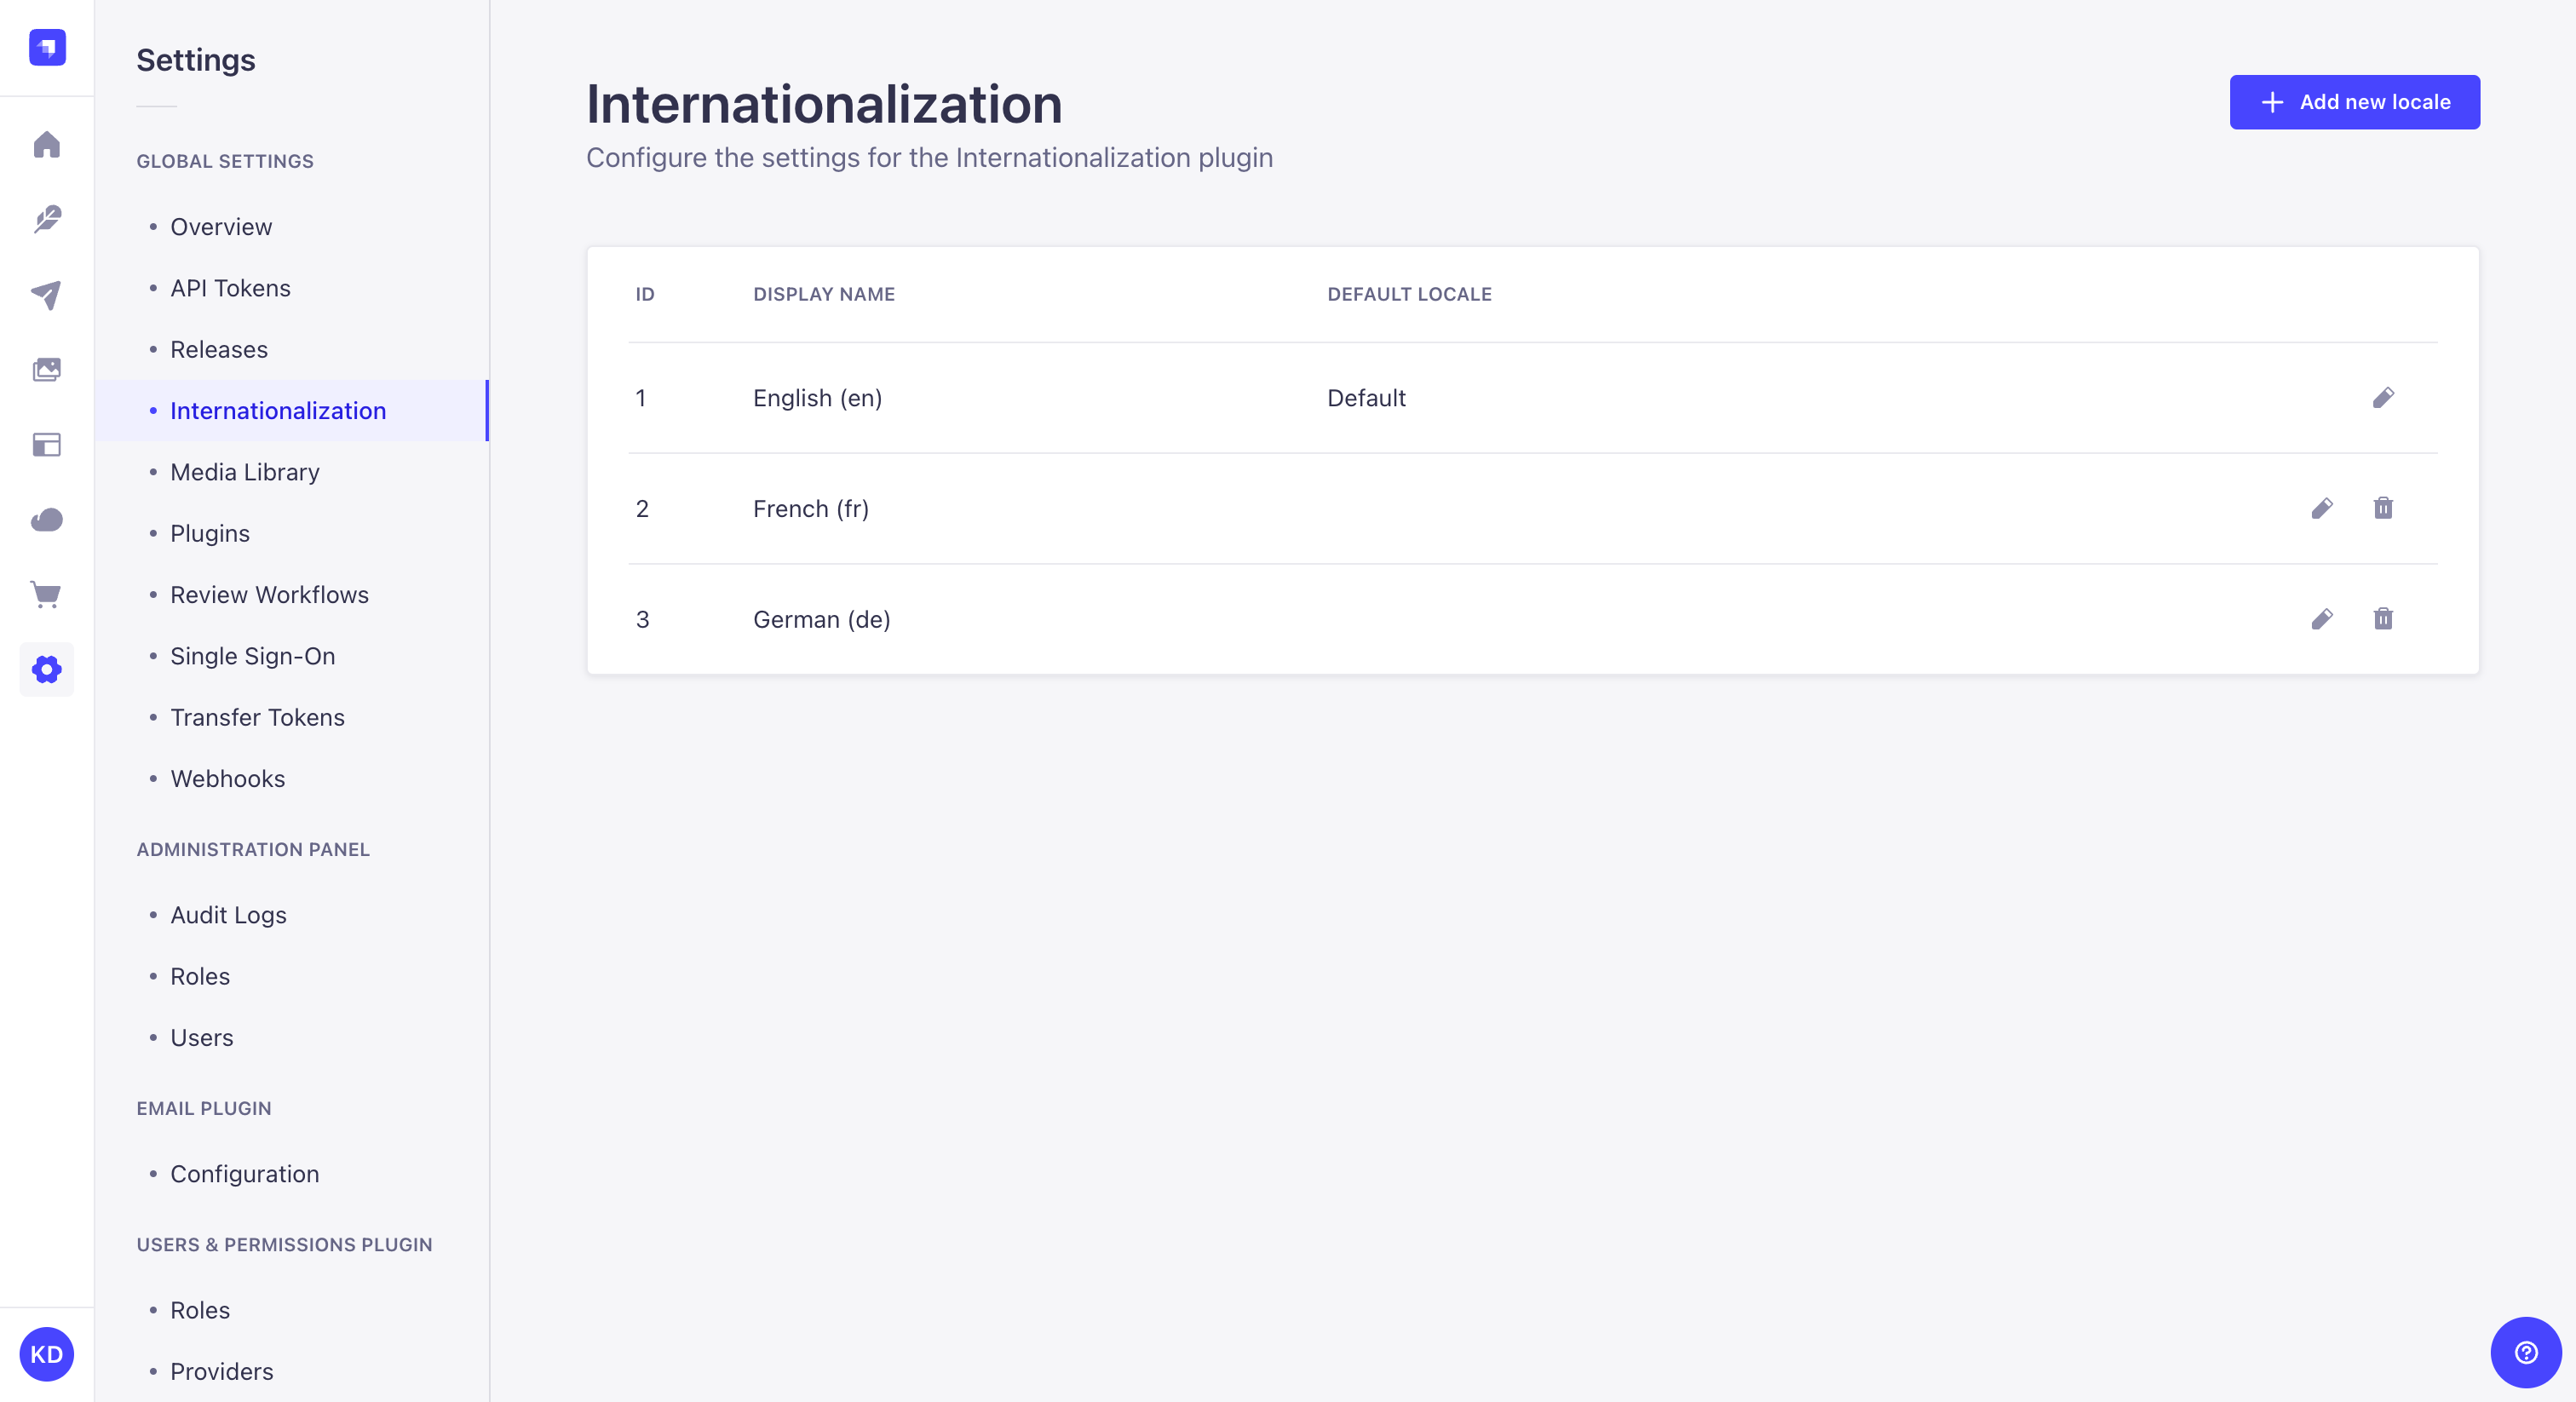
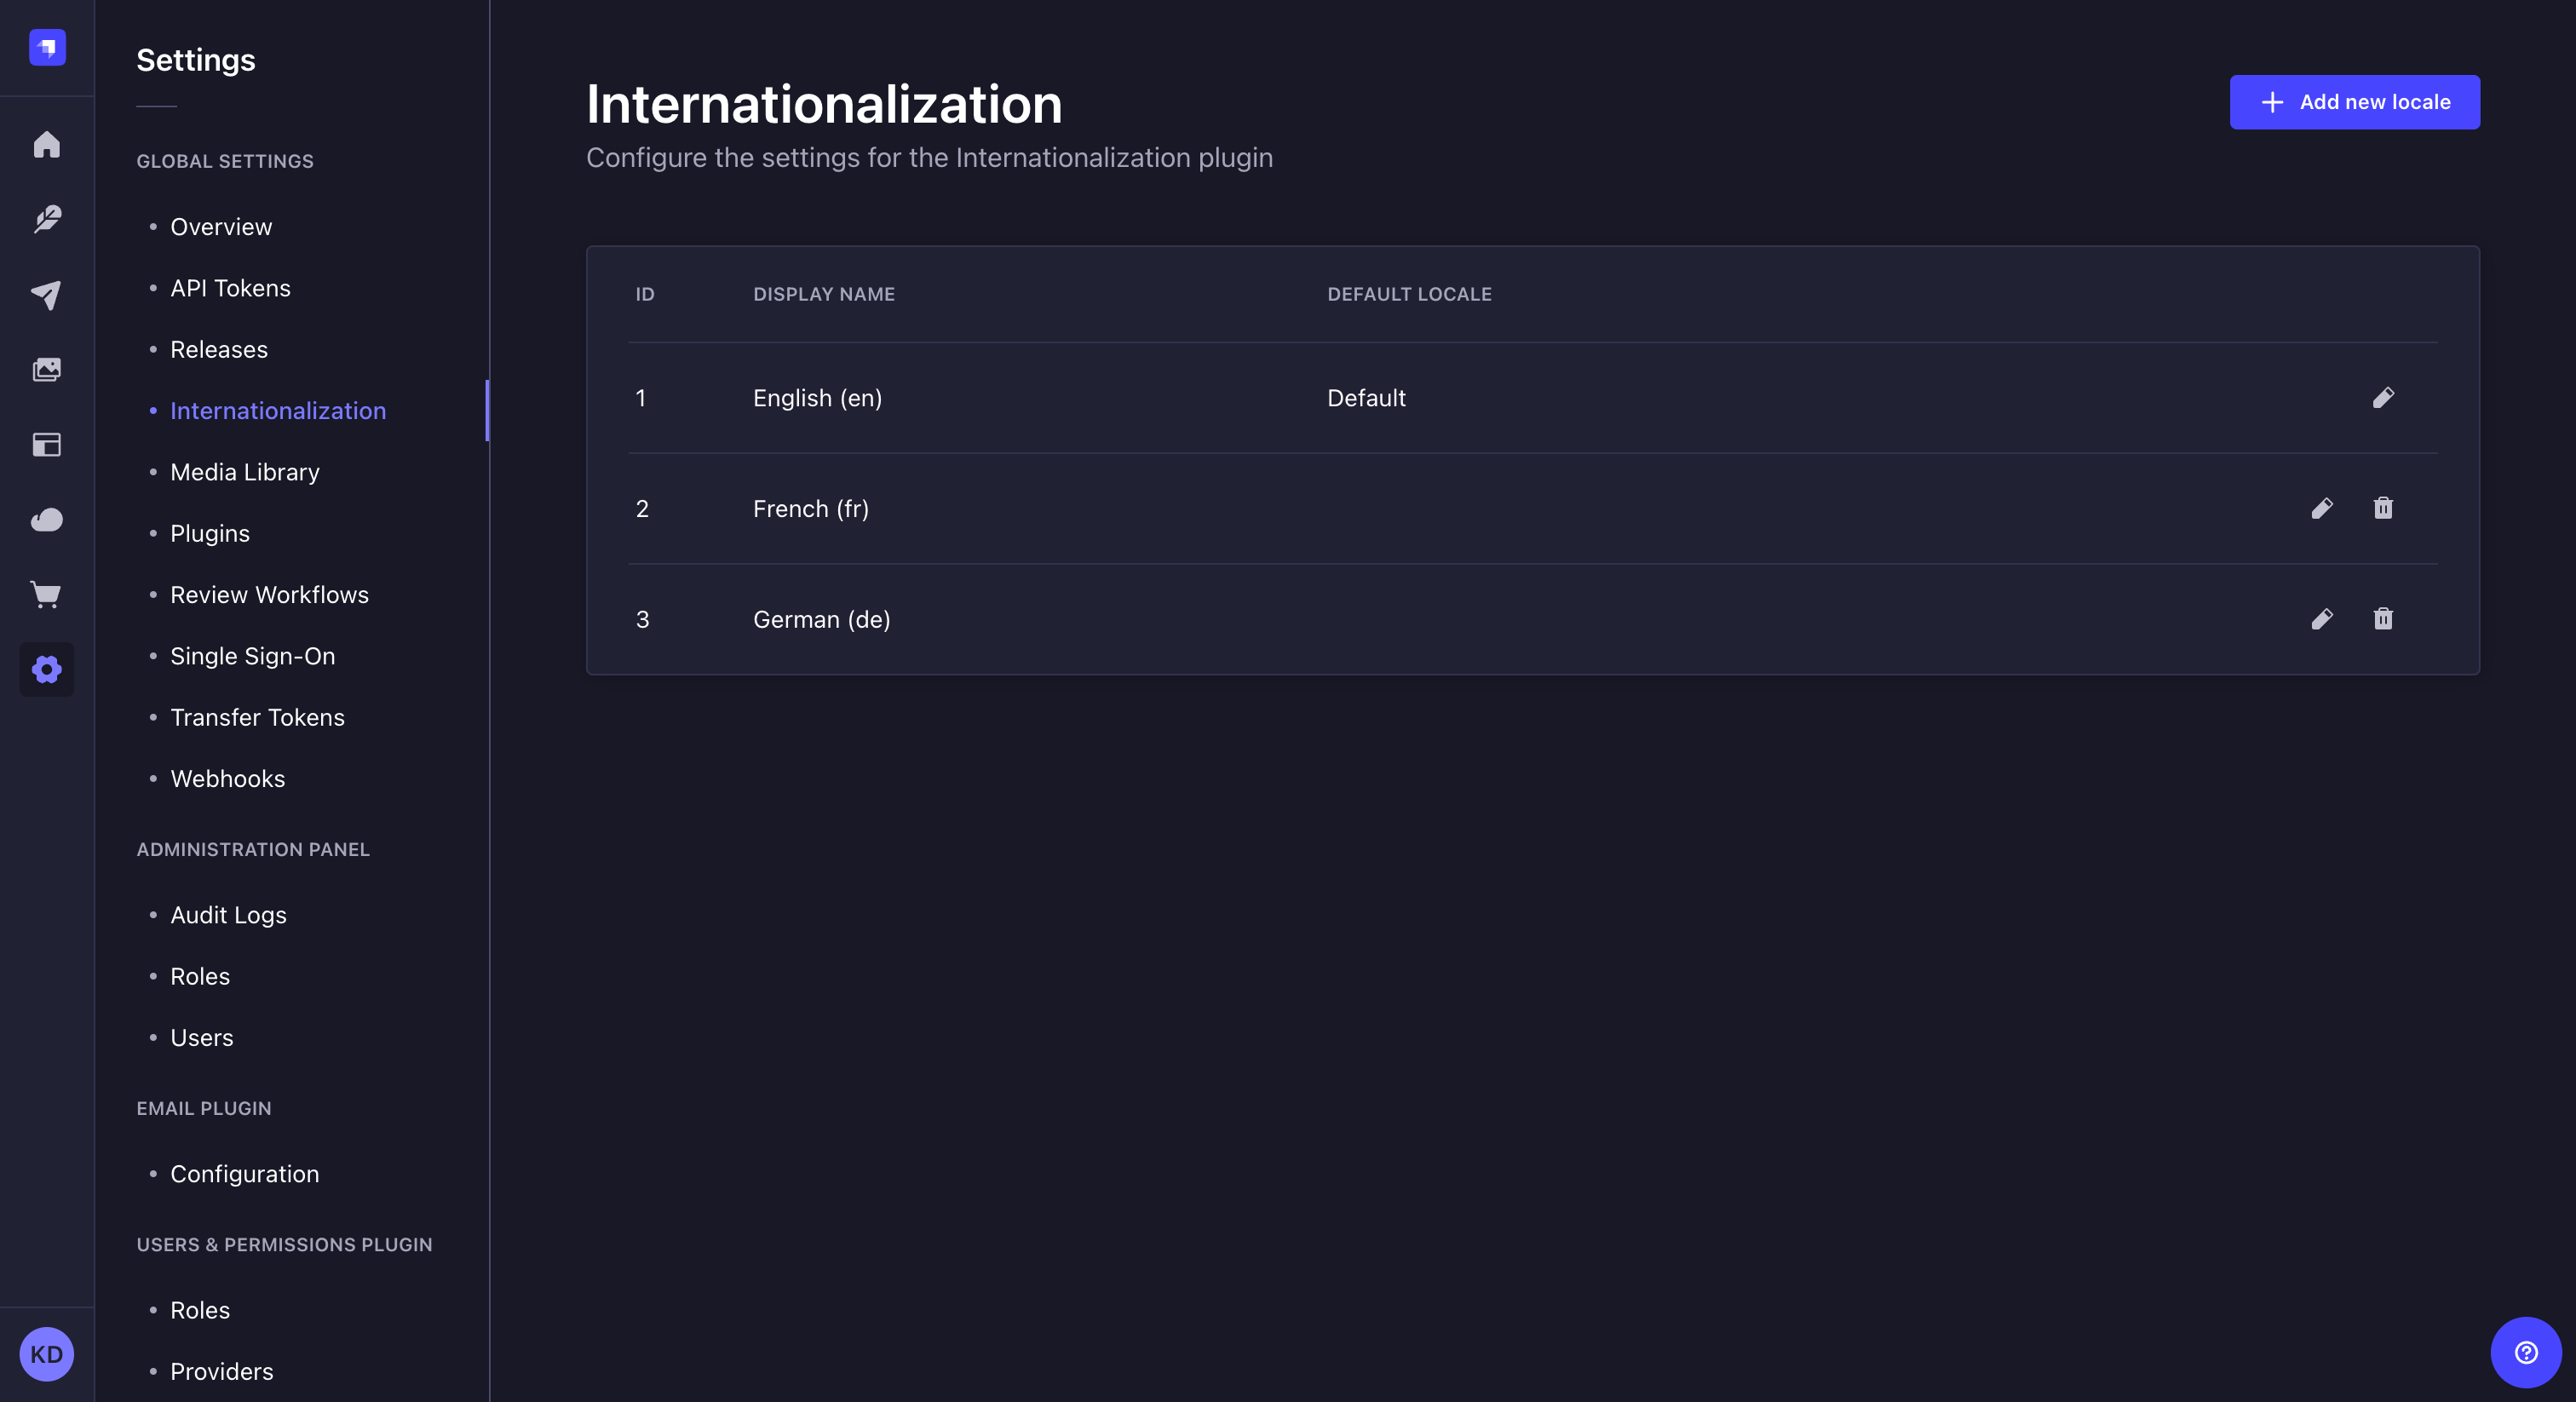
The Internationalization settings sub-section displays a table listing all locales available for the Strapi application. By default, only the English locale is configured and set as the default locale.
For each locale, the table displays the default ISO code of the locale, its optional display name and indicates if the locale is set as the default one. From the table, administrators can also:
- Click on the edit button
to edit a locale
- Click on the delete button
to delete a locale
Adding a new locale
Administrators can add and manage as many locales as they want. There can however only be one locale set as the default one for the whole Strapi application.
It is not possible to create custom locales. Locales can only be created based on the 500+ pre-created list of locales set by Strapi.
To add a new locale:
- Click on the Add new locale button.
- In the locale addition window, choose your new locale among the Locales drop-down list. The latter lists alphabetically all locales, displayed as their ISO code, that can be added to your Strapi application.
- (optional) In the Locale display name textbox, write a new display name for your new locale.
- (optional) In the Advanced settings tab, tick the Set as default locale setting to make your new locale the default one for your Strapi application.
- Click on the Save button to confirm the addition of your new locale.
Code-based configuration
A STRAPI_PLUGIN_I18N_INIT_LOCALE_CODE environment variable can be configured to set the default locale for your environment. The value used for this variable should be an ISO country code from the 500+ pre-created list of locales.
Usage
In the Content Manager, when the Internationalization feature is enabled for the content-type, a locale drop-down list is added to the top right of the edit view and allows to switch locales.
The Internationalization feature also allows dynamic zones and components to differ from one locale to another. Depending on the locale, dynamic zones can indeed have different structures depending on the locale, and repeatable components can have different entries and be organized differently as well.
Content can only be managed one locale at the time. It is not possible to edit or publish content for several locales at the same time (e.g. Clicking on the Publish button will only publish the content for the locale you are currently working on).
To translate content in another locale:
- Access the edit view of your collection or single type.
- On the top right of the edit view, click on the locale drop-down list.
- Choose the locale in which you want to translate your content.
- Translate your content by filling up your content-type's fields.
Click on the Fill in from another locale button, in the top right corner, for all non relational fields to be filled up with the values of another chosen locale. It can be useful if you do not remember what was the exact content in another locale.
Usage with APIs
Localized content can be requested, created, updated, and deleted for a given locale through the various front-end APIs accessible from Strapi's Content API:
REST API
Learn how to use the locale parameter with the REST API.
GraphQL API
Learn how to use the locale parameter with GraphQL API.
On the back-end server of Strapi, the Document Service API can also be used to interact with localized content: